

You have bought a dash cam, or you are about to, and now the cable is dangling across your windscreen. Getting it to install dashcam hardware neatly is not hard, but the method you choose affects how it looks, how it runs and whether it drains your battery. A suction mount and a lighter socket will work on day one. A tidy hardwired setup works better for years.
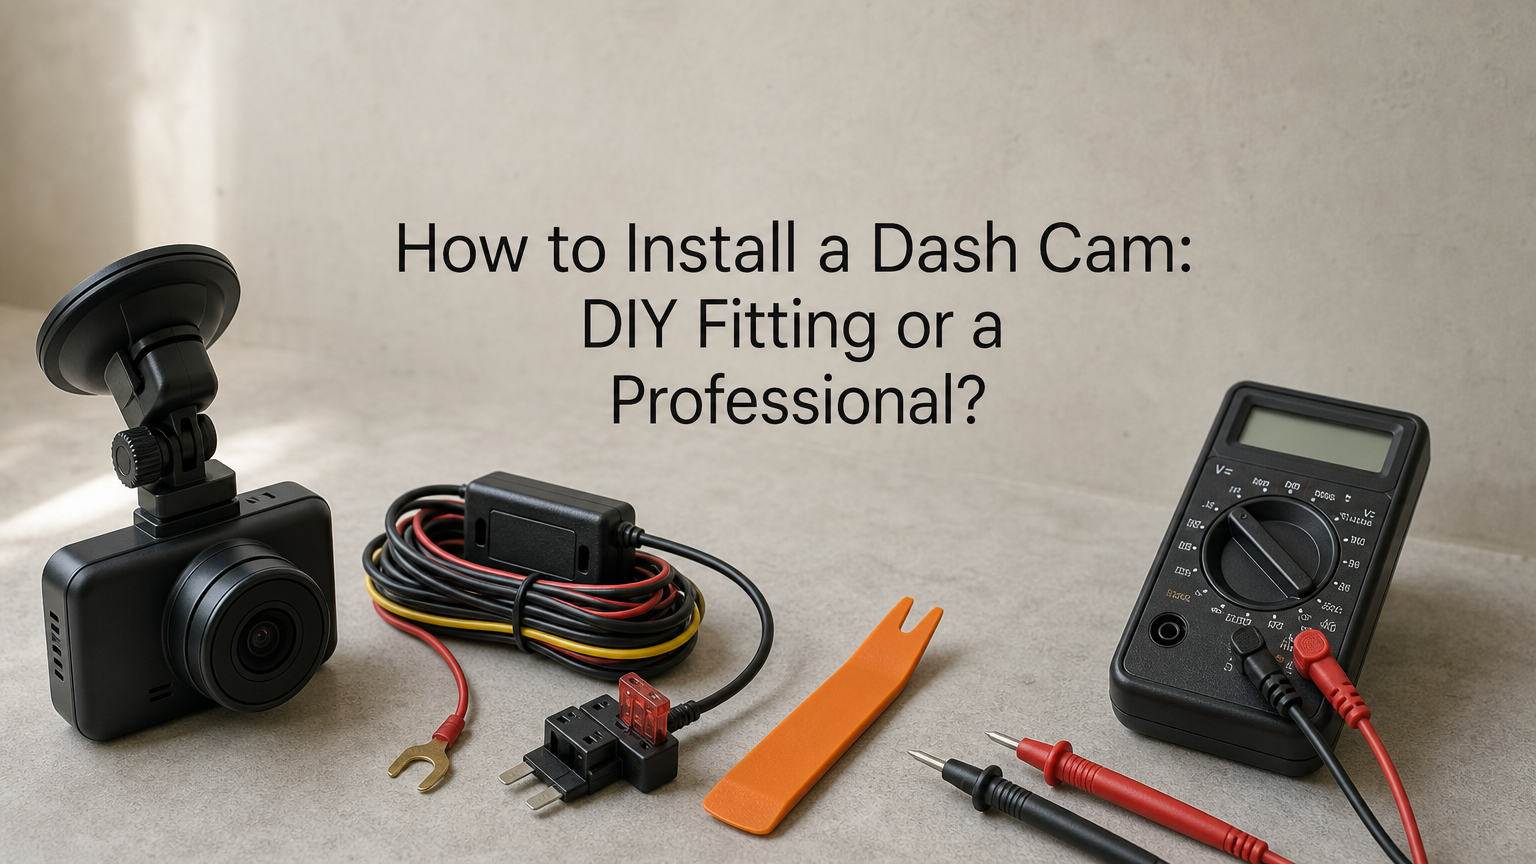
Here is the short answer. If you have one front camera and you are happy removing a few trim panels, fitting a dashcam yourself takes about 30 to 60 minutes and costs very little. If you want a front and rear setup, parking mode, or you drive a newer car packed with sensors and airbags, a professional fitting is usually worth the money. In the UK, expect to pay roughly £50 to £150 depending on the cameras and the car.
Below, we walk through the DIY route step by step, from picking a power source to hiding the cables. Then we compare professional fitting costs, so you can decide which route suits you. We also point to the newest car accessories worth buying in the UK, dash cams included.
DIY fitting or a professional: which to choose
Most people who ask how do you install a dashcam really want to know whether they should do it at all. The answer rests on three things: how many cameras you are fitting, how you want them powered and how complicated your car is.
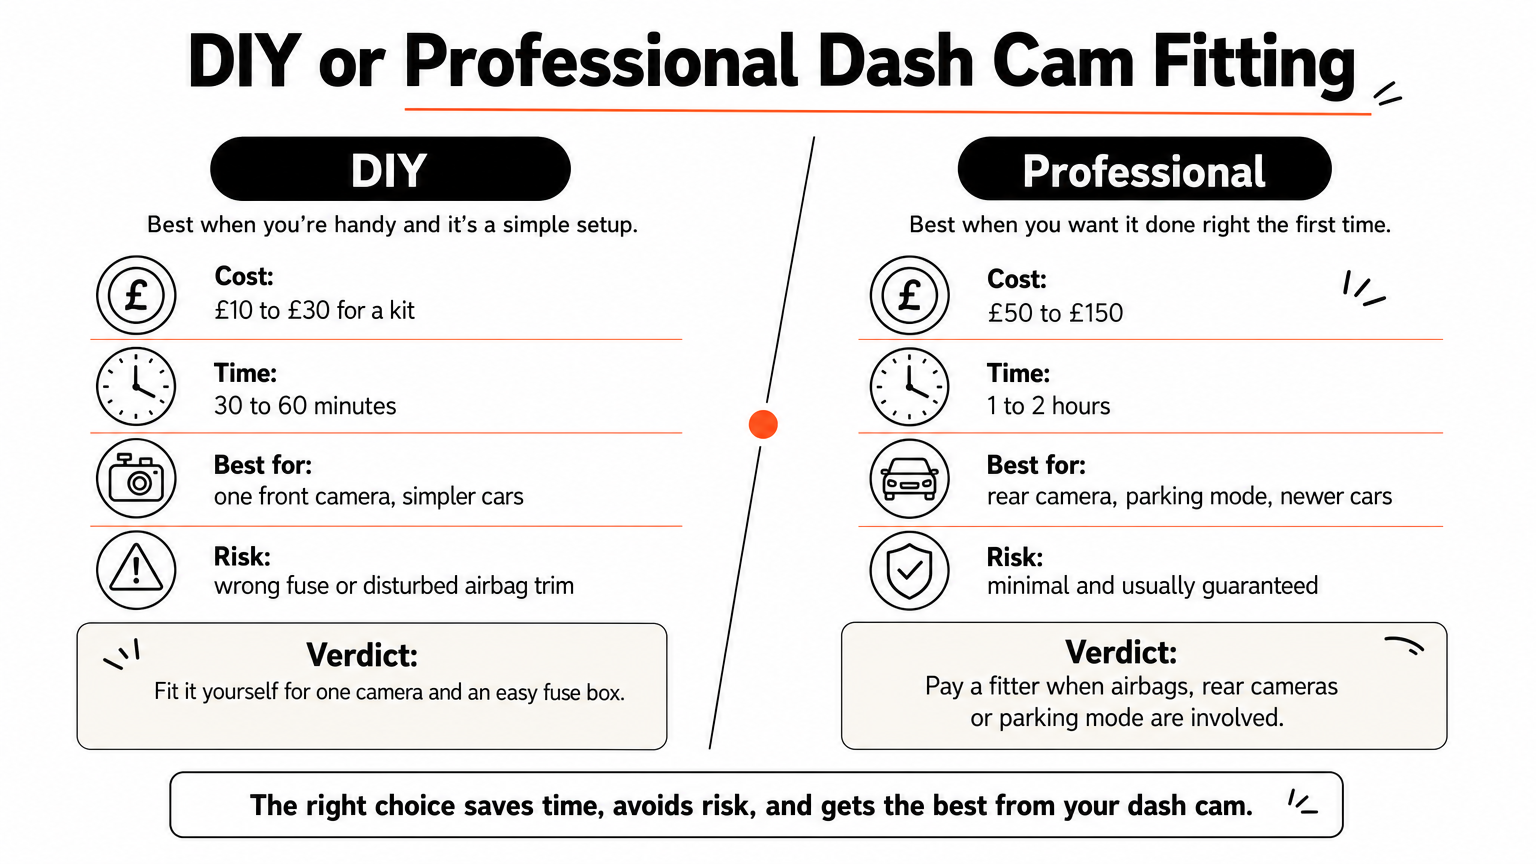
The two options compared
| Factor | DIY | Professional |
|---|---|---|
| Typical cost | £10 to £30 for a hardwire kit and fuse tap | £50 to £150 |
| Time | 30 to 60 minutes (front camera) | 1 to 2 hours |
| Best for | One front camera, older or simpler cars | Front and rear cameras, parking mode, newer cars |
| Main risk | Wrong fuse, disturbed airbag trim | Minimal, and usually guaranteed |
These are typical UK ranges, not quotes. Prices rise with a rear camera and with cars that need a lot of trim removed, so ask two or three local installers before you commit.
When to pay for a professional
Newer cars hide side curtain airbags in the A-pillar, and some have battery management systems that react badly to a poorly tapped fuse. Front and rear dash cam fitting also means threading a cable through the roof lining and a boot grommet, which is awkward on your own. If either applies, book a professional dashcam fitting and save yourself the stress.
Fit it yourself for one camera and an accessible fuse box; pay someone when airbags, a rear camera or parking mode are involved.
Keep the DIY route for the simple jobs. If you can use a trim tool and a multimeter, fitting a dashcam on your own is a sensible first project, and the steps below make it manageable.
Step 1. Choose the position and power method
Pick the camera position
Sit in the driver’s seat and hold the camera up to the glass. Mount it behind the rear-view mirror, on the passenger side, so it stays out of your line of sight. Check the lens sits inside the area your wipers clear, or rain will blur the footage. Clean the glass with isopropyl alcohol before the adhesive pad goes on.
Pick the power method
| Method | Cost | Parking mode | Difficulty |
|---|---|---|---|
| Lighter socket | Cable included | No | Easy |
| USB port | Cable included | No | Easy |
| Hardwire kit, one of many car upgrades under £25 | £10 to £30 | Yes | Moderate |
Before fitting a dashcam, decide what you want from it. A socket or USB lead is quick, but it only powers the camera while the ignition is on. A hardwire kit suits parking mode, and it frees up your socket for a wireless charging phone mount.
Decide the power method before you touch a trim panel, because it sets the whole cable route.
If you want a neat result that lasts, choose the hardwire kit. The next steps assume you do.
Step 2. Mount the camera and route the cable
Now you install a dash cam for real: fix the mount first, then hide the cable. Do both with the engine off and the key out of the ignition.
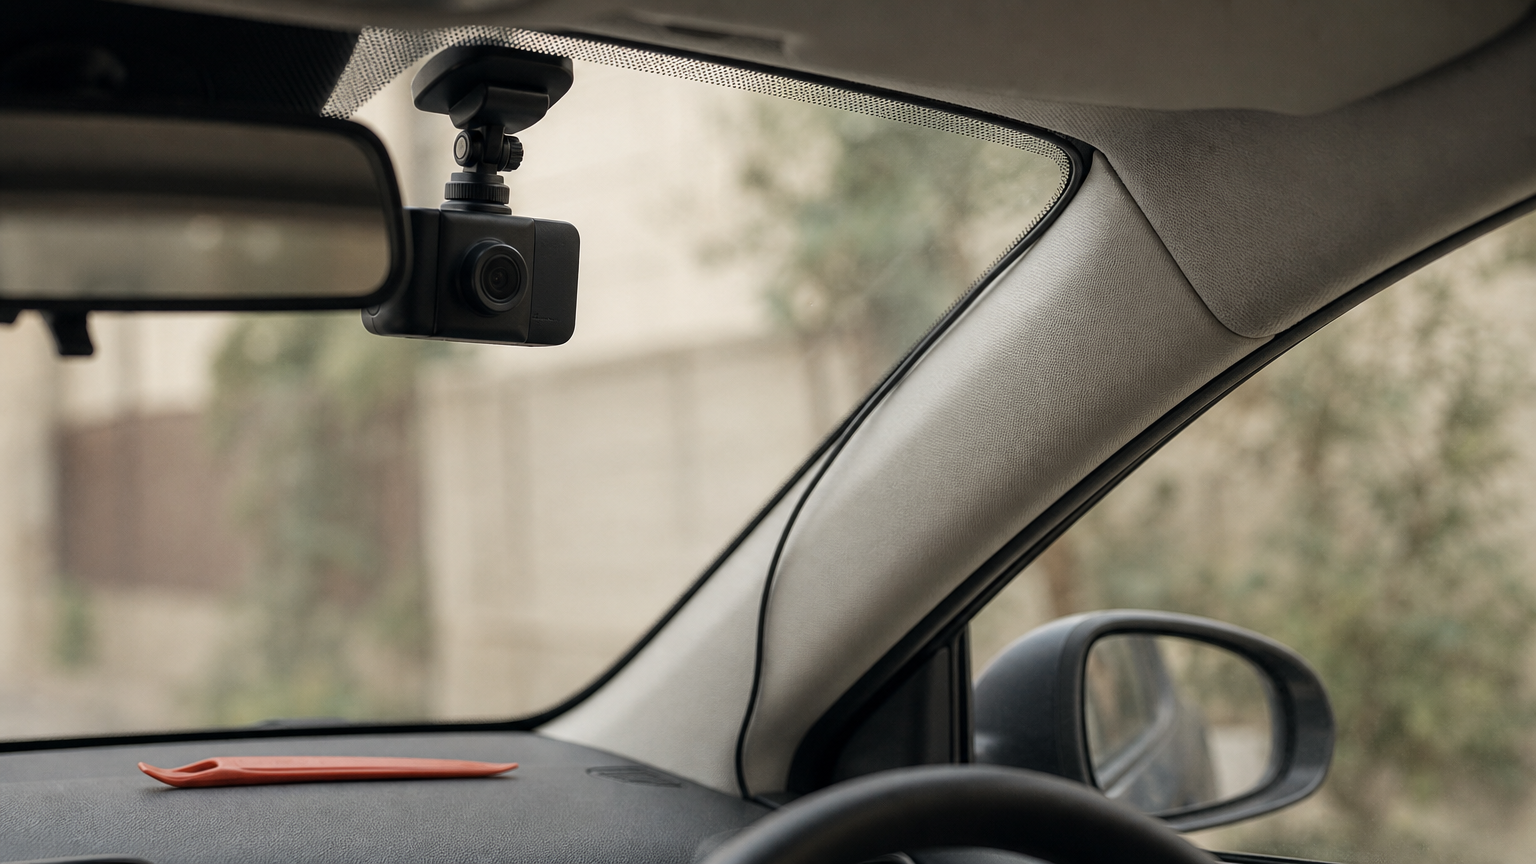
Fix the mount
Plug the camera in and check the framing on its screen before you peel anything. Then press the adhesive pad against the glass for 30 seconds. Keep the cable loose until the camera sits straight.
Route the cable
Use a plastic trim tool, not a screwdriver, which scratches panels. Work in this order:
- Tuck the cable into the gap along the top of the windscreen, towards the passenger side.
- Push it down the A-pillar behind the rubber door seal.
- Run it under the glovebox towards the fuse box.
Leave the cable outside the airbag seam, which is usually marked on the pillar trim. Let it hang loose below the airbag, never across it, so the airbag can deploy freely.
Never run a dash cam cable across an airbag panel, because it can stop the airbag deploying properly.
Extra cable? Tuck the slack behind the glovebox, not into the pillar.
Step 3. Hardwire to the fuse box and add a rear camera
Wire the fuse box
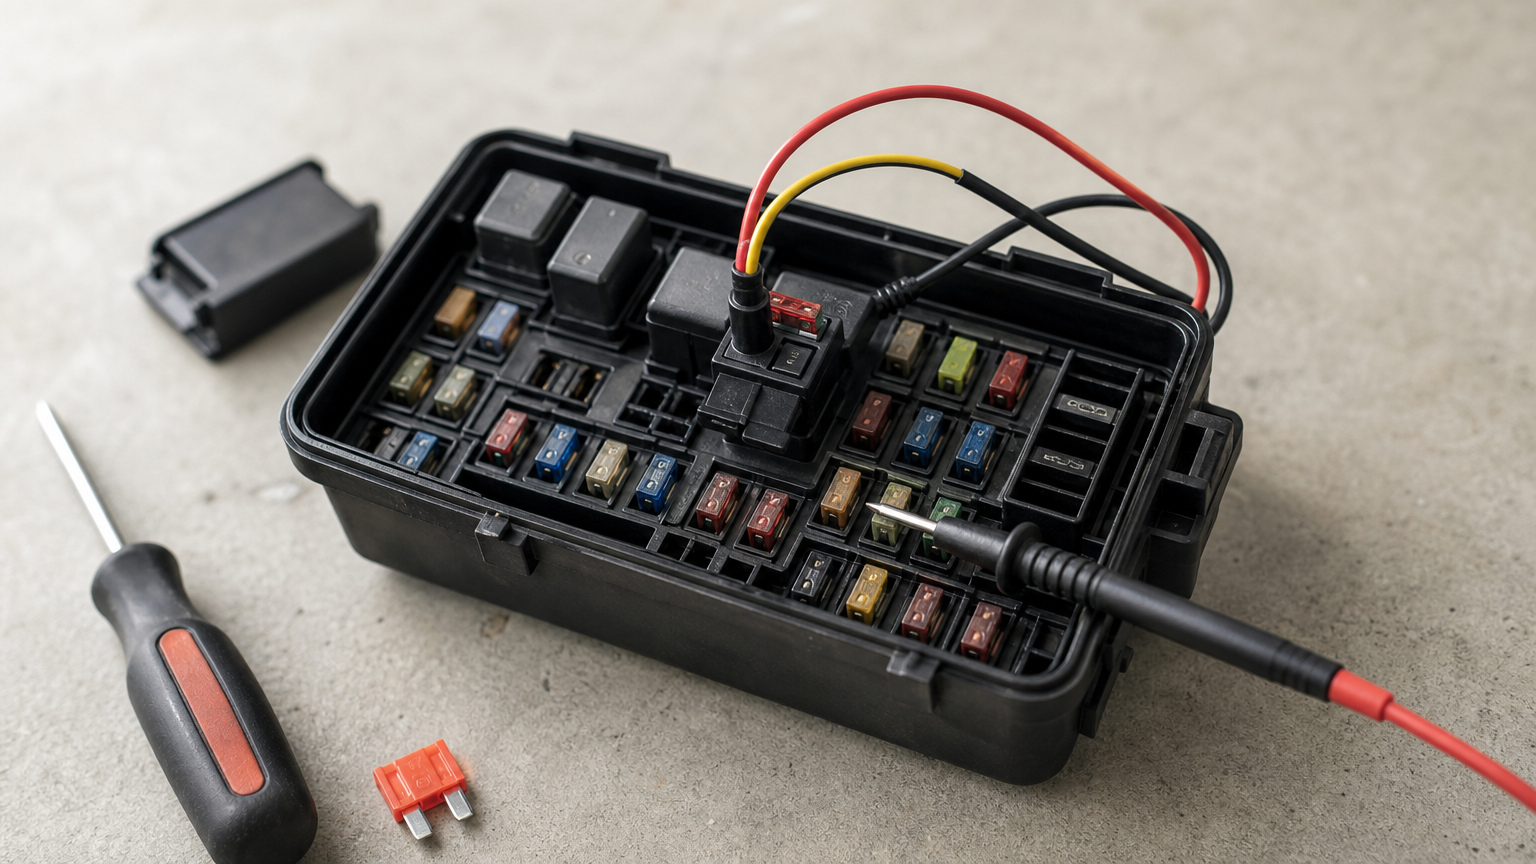
Open the fuse box, usually in the driver’s footwell or behind the glovebox. With a multimeter, find a switched fuse that is live only with the ignition on, and a constant fuse for parking mode. Then:
- Pull the chosen fuse and fit a fuse tap of the same amperage, with the original fuse back in its slot.
- Connect the red wire (ignition) to the switched tap and the yellow wire (constant) to the constant tap.
- Fix the black earth wire under a bare metal bolt, never a painted one.
Always match the fuse tap to the original fuse rating, or you risk damaging the circuit.
Add a rear camera
For front and rear dash cam fitting, run the rear cable along the roof lining and down the C-pillar. Feed it into the boot through the rubber grommet beside the tailgate hinge. Plug it into the front unit before you refit any trim, and keep every wire clear of airbag panels, just as you did at the front.
Step 4. Test, set up and tidy the install
Test before you refit any trim
Switch the ignition on while the panels are still off. The camera should power up and start recording within seconds. Then switch off and confirm that parking mode works, with the camera staying live or dropping into low-power recording.
- Format the microSD card in the camera.
- Set the date and time, including BST.
- Check the front and rear images on screen.
- Set the low-voltage cut-off, usually 12.0 to 12.4V, so the car still starts.
Test everything with the trim still off, because a fault found later means taking it all apart again.
Tidy the cables
Press every clip home and refit the A-pillar and glovebox panels. Bundle any loose cable with fabric tape or cable ties so nothing rattles while you drive.
Good dashcam fitting leaves no wire visible except the short run from the mirror to the headlining. Take a short test drive afterwards and review the footage for shake, glare and readable number plates.
Choosing the right way to fit yours
The right way to install dashcam hardware comes down to your car and your kit. One front camera, an accessible fuse box and an hour to spare make DIY fitting a sensible job. A rear camera, parking mode or a newer car full of airbags tips the balance towards a professional, who will usually charge £50 to £150.
Whichever route you pick, the same rules apply. Keep every cable clear of airbag panels, match the fuse tap to the original fuse, and test everything before you refit the trim. Do that and the camera will record quietly for years.
Still need a camera to fit? Compare the best dual dash cams of 2026 at ShoppingTimeNow and pick your front and rear kit before you book a fitter or pick up your trim tool.



 No products in the cart.