

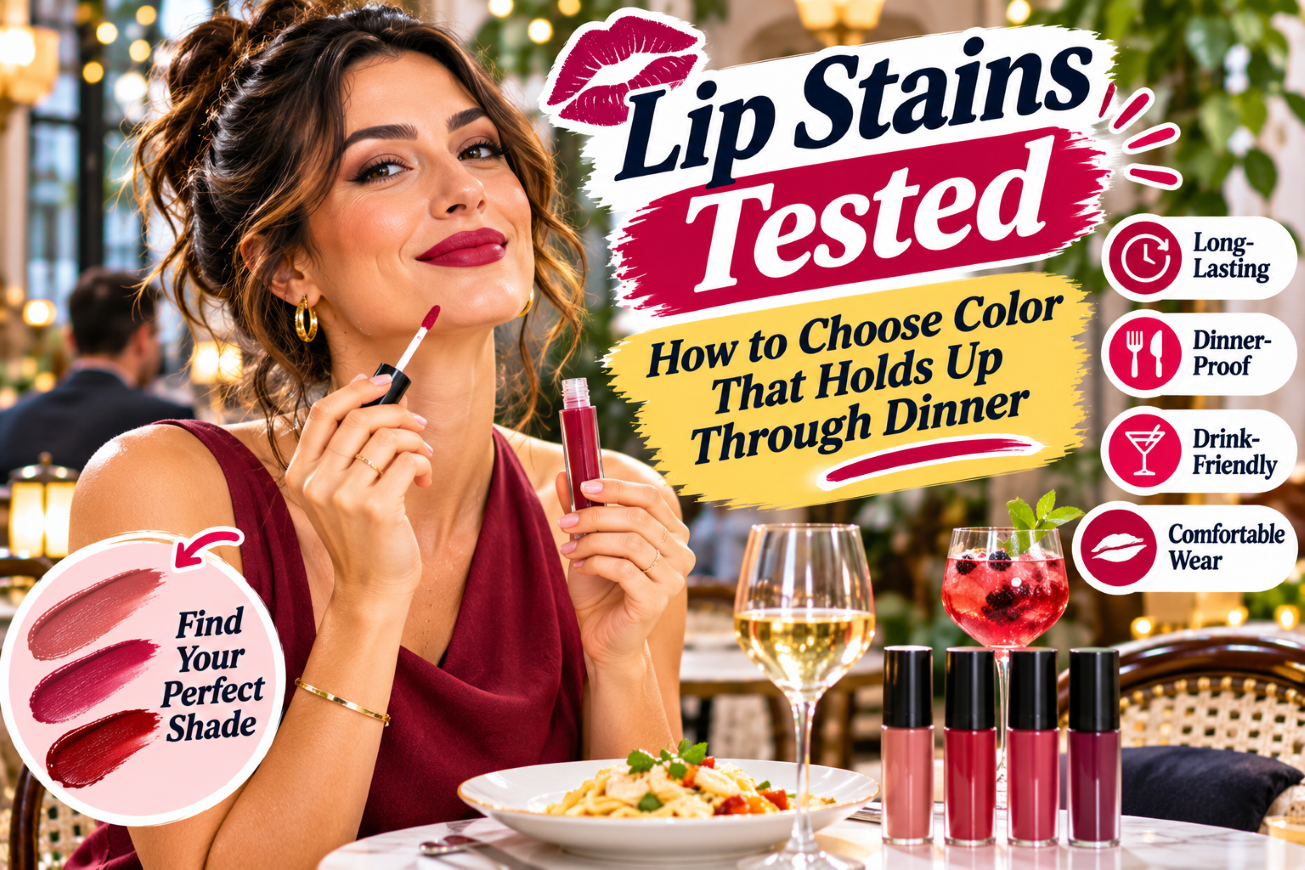
The middle of my lips is always the first thing to go.
I noticed it years ago, somewhere around noon, when I caught my reflection in a dark phone screen and saw a neat pink outline around a bare center. Food and saliva hit that spot the hardest, so it fades first. Keep that in mind, because it shapes everything else here.
This guide is a framework for judging drugstore and prestige lip stains. It is not a ranking, and it does not claim any particular formula went through a hands-on test. What you get is a way to decide what staying power means for you, how to read lip stain reviews, and where the trade-offs show up. A stain that lasts through dinner but leaves your lips feeling like paper is not a win for everyone.
What does “long-lasting” even mean?
It depends on who you ask. One person wants a soft tint that survives a few sips of iced coffee. Another expects vivid color to stay put after a saucy burger and a napkin, and that is a much harder job. Set your own bar before you shop, or you will end up judging a comfortable sheer tint by the standards of a full-coverage liquid lip, which is a little like comparing sneakers with hiking boots.
A good lip stain for eating will not necessarily look freshly applied after a meal. Better questions: does the color fade evenly, does it stay reasonably present at the center, and does it avoid leaving a hard ring around the edges? Transfer resistance is a separate matter. A stain can leave color on a glass and still keep a flattering tint on your lips. Those details count for more than a dramatic “all-day” claim on the package.
Think about the days you care about most. A workday full of water and coffee probably rewards comfort over bold pigment. For a wedding or a long dinner, you might accept a drier feel to get fewer touch-ups. And if you hate reapplying, ask yourself whether you will put up with scrubbing off a stubborn stain at night, because long wear can mean extra effort at both ends of the day.
Running a fair test on your own lips
Use the same setup every time. Start with clean lips and apply the stain as directed, without piling on extra coats to force a result. Look at the shade in daylight, since indoor lighting can make a barely-there tint look much stronger. Then give it time to set before checking for transfer.
Now make it realistic. Drink from a cup, blot once with a napkin, and eat something with mixed textures. An oily dressing or a buttery pastry may lift color faster than plain crackers. That does not make a formula poor; it tells you which meals will challenge it. Repeat the routine with each formula and write down what changes (I use my notes app, and it is surprisingly useful two weeks later).
Where should you look?
Check three spots: the center, the outer edge, and the line where your lips meet. Patchy fading in the middle is common. A decent stain tends to leave a softer tint instead of a sharp outline. Take a quick photo before and after in similar light, because memory is generous to a color you liked at breakfast.
Comfort belongs on the scorecard too. Notice tightness, flaking, tackiness, and whether the formula settles into lip lines. Check how it comes off as well. A product that resists a napkin may need an oil-based remover or balm at bedtime, and you should not scrub until your lips sting. Loosen the pigment gently, then follow with plain balm. If a formula causes burning or irritation, stop using it.
Formula and finish, sorted
Water-based stains usually give a light, skin-like tint and feel less heavy than opaque liquid color. They suit a just-bitten look, or anyone who wants natural lip texture to show through. The catch is that some set fast, so mistakes are harder to fix. Work in small sections and keep a damp cotton swab nearby.
Gel and serum-style stains glide on easily, which helps when you are applying color in a car mirror. The finish can look dewier at first. A glossy surface does not prove the pigment underneath is transfer-proof, though. Wait for the full setting time before judging, since blotting too soon can lift color that never had a chance to settle.
Peel-off tints have their own routine. Apply an even layer, wait as directed, then remove the film. They appeal if you want a stain without carrying a tube around for touch-ups. But the application takes patience, and an uneven layer gives uneven color, so a rushed morning is probably not the moment.
Opaque liquid lip colors often get lumped in with stains, yet they behave differently. They tend to form a uniform, lipstick-like layer with stronger coverage, while a classic stain leaves pigment that looks more part of the lips. If you want vivid color with minimal transfer, compare both types. Be honest about whether you enjoy a drier, more noticeable feel.
Is the pricier tube worth it?
Not by default. When you compare drugstore and prestige options, focus on what you will notice every time: how evenly it applies, whether the shade suits you, how it feels after a few hours, and how it fades after food. A beautiful package is fun. It cannot rescue a shade that turns patchy on your lips.
Drugstore formulas are easier to try while you are still working out which finish you like, and a miss stings less. On the downside, shade ranges and applicator shapes vary, and one store may not carry the full selection. Read the label and the return policy instead of assuming every formula at a given price wears the same way.
Prestige options may offer a texture, a shade edit or a packaging experience that feels worth paying for. The value depends on how you use it. When I first saw the price on one I had been eyeing, I nearly closed the tab, and honestly, that instinct was fair: if a formula feels comfortable and you reach for it often, the cost per wear can make sense, but if it sits in a drawer because it is too sticky or too drying, the fancy tube does not change the math. Compare wear and comfort first. Treat packaging as a bonus.
Reviews need a careful read. Look for details about skin tone, lip texture, application and the reviewer’s day, because “lasted all day” does not tell you whether that meant eight hours without eating or four hours through lunch. Before-and-after photos help, although lighting and camera settings change color. Trust patterns across several reviewers over one glowing comment.
Small prep, better wear
Prep does not need to become a ten-step ritual. If your lips are flaky, buff loose skin with a damp washcloth and skip anything aggressive. Apply a thin layer of balm, let it sink in, then blot off the slippery excess before adding stain. Too much balm underneath can make some formulas slide around instead of setting.
Go thin on the first layer and check before adding more. Put color where you want it, press your lips together lightly, and tap the edges with a fingertip for a soft look. For more definition, use a matching liner if you own one. Just do not draw a harsh outline and expect the stain to stay inside it through a meal.
Let the formula dry for the full time on the packaging. Resist rubbing your lips together while it is wet, since that can push color into lines. Want extra shine? Add clear balm or gloss after the stain has set, knowing a slick top layer may transfer even when the pigment underneath holds. Keep a small mirror handy for checking the center after lunch, not because you need a perfect mouth, but because that is where fading shows first.
Removal deserves the same common sense. Use a gentle oil cleanser or balm if face wash leaves color behind, and do not pick at dry patches. A stain that hangs on overnight can look impressive in a review. Your comfort matters more than winning a durability contest.
Pick the stain that fits your day
Write down your top priority before buying: sheer comfort, bold color, quick application, or less transfer during meals. Narrow the options by finish, then read reviews for the exact situation you care about. If eating out is the main test, weigh comments about uneven fading after food more heavily than claims about color still showing after a quiet day at home.
A smudge-proof lip stain can still leave a mark on a glass. A little transfer does not mean failure. Look at the tint left on your lips, whether it fades cleanly, and whether you would happily wear the formula again.
My view is simple: comfort and even fading beat a stubborn stain that takes half the evening to remove. Choose the finish you will actually enjoy wearing and let your own lunch do the judging.
Some links on this page are affiliate links: if you buy through them we may earn a small commission at no extra cost to you. We only recommend products we would buy ourselves.
Frequently Asked Questions
How can I tell if a lip stain will survive a meal?
Apply it as directed, let it set fully, then sip a drink, blot once and eat something with a little oil in it. Check the center of your lips and the outer edge afterward. Even fading is a better sign than perfect color.
Is a prestige lip stain better than a drugstore one?
Not automatically. Price does not guarantee wear. Compare how evenly it applies, how comfortable it feels after a few hours and how it fades after food.
Why does my lip stain fade in the middle first?
The center of your lips gets the most contact with food, drinks and saliva. That is why a small mirror check there after lunch tells you the most.
How do I remove a stubborn lip stain safely?
Use a gentle oil cleanser or balm to loosen the pigment, then follow with plain lip balm. Do not scrub or pick at dry patches, and stop using any formula that burns or irritates.
Does a smudge-proof lip stain still transfer?
It can. A little color on a glass does not mean the stain failed, as long as the tint left on your lips looks good and fades cleanly.
 No products in the cart.